How to Shrink Leather Gloves

To shrink leather gloves safely, soak them in lukewarm water for 10–15 minutes, gently squeeze out excess moisture, and wear them until they are mostly dry. This allows the leather to mold to the specific shape of your hand. Alternatively, lightly mist with water and use a hairdryer on low heat. Always apply a high-quality leather conditioner after drying to restore softness and prevent cracking.
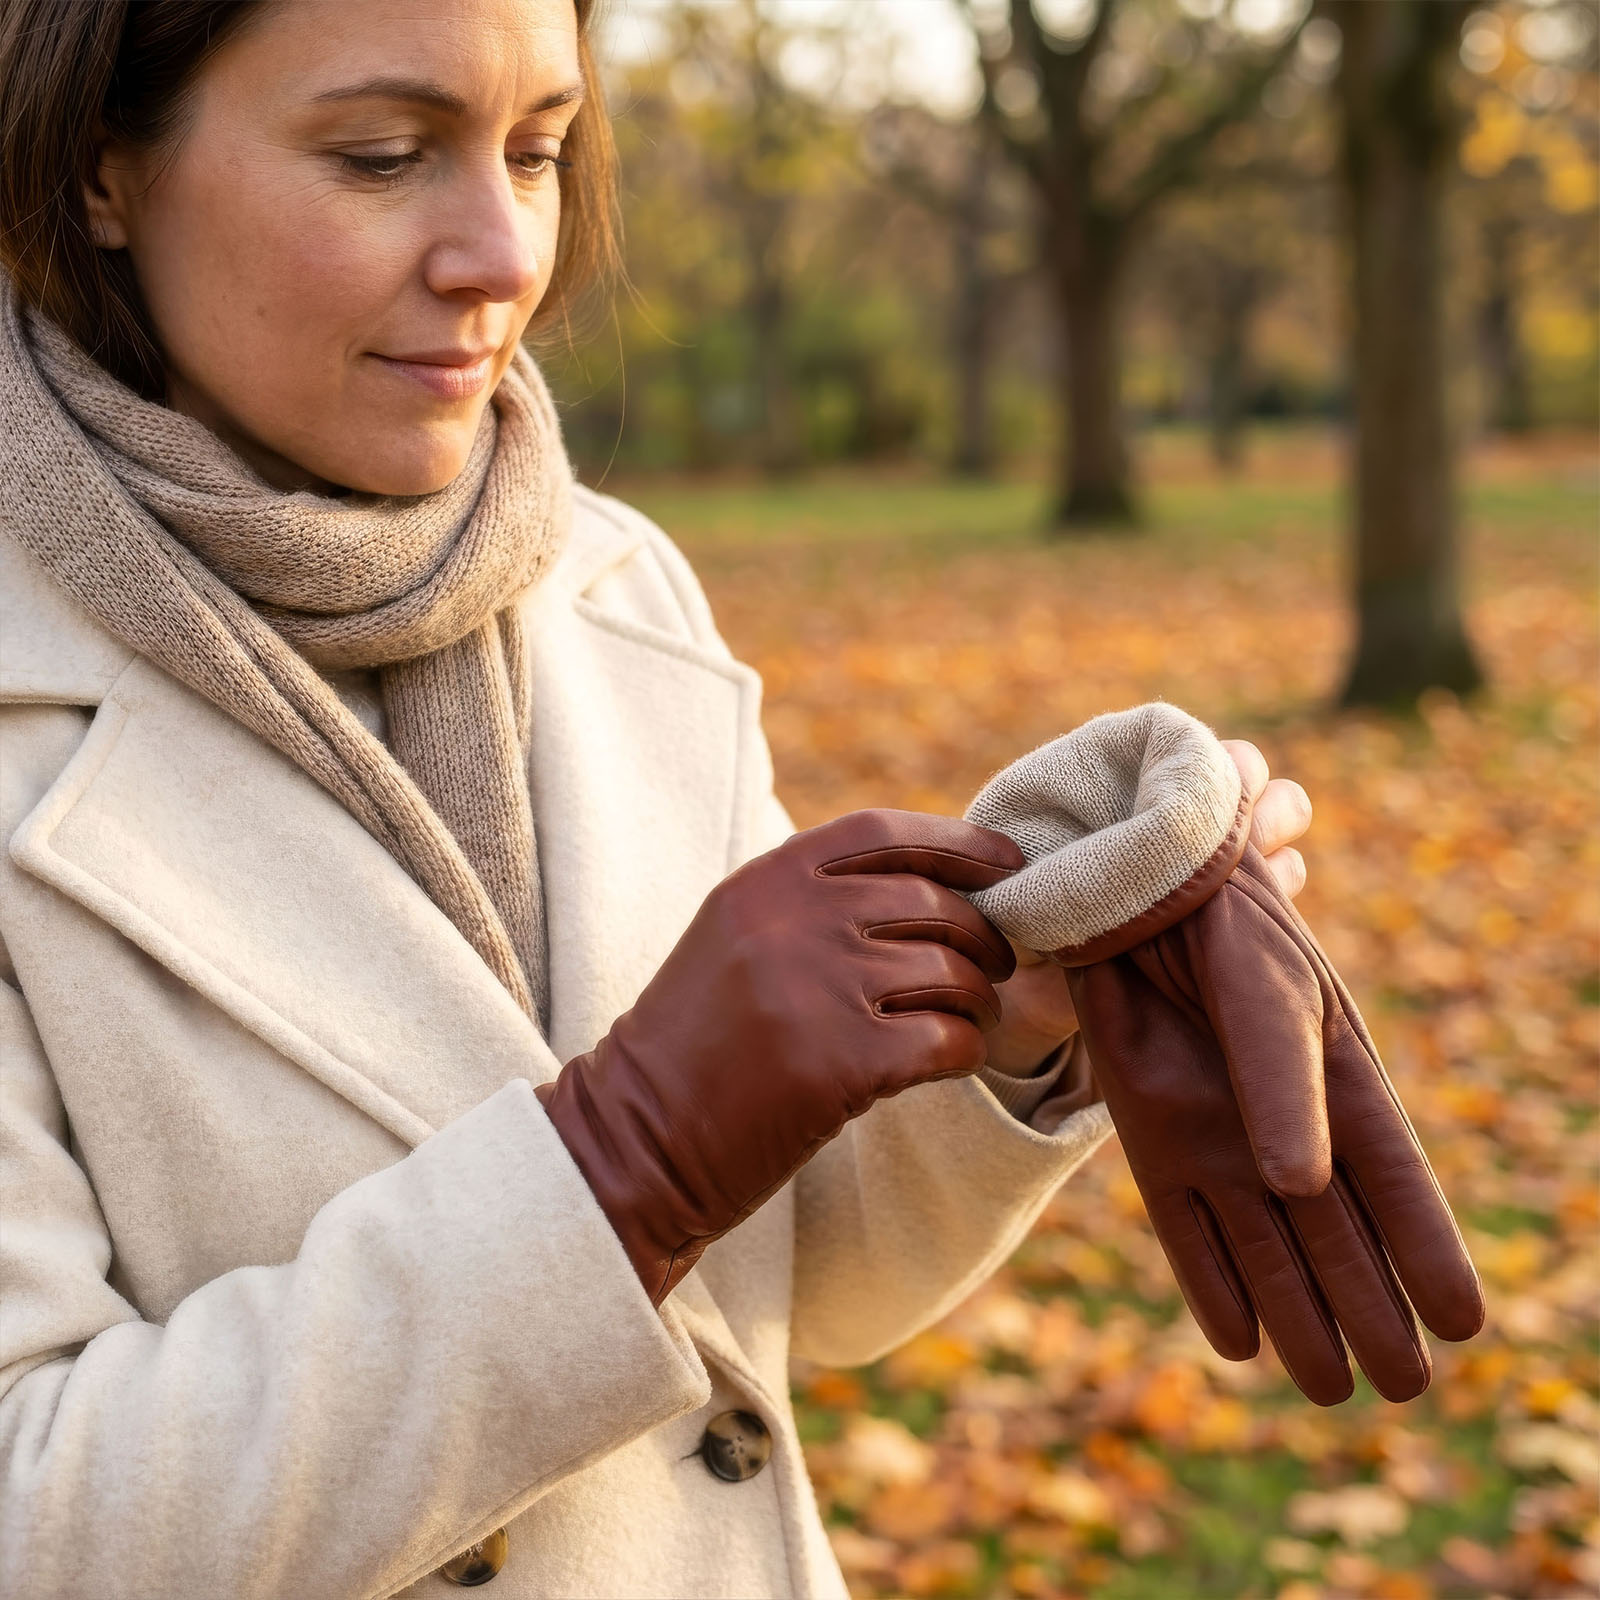
The Quest for the “Second Skin” Fit
Leather gloves are a timeless accessory, offering protection, style, and grip. However, nothing is more frustrating than a pair of gloves that feels loose, clumsy, or slippy.
Perhaps you bought a pair that was slightly too big, or maybe your favorite gloves have stretched out after months of heavy use. Leather is a natural material that relaxes over time, often leading to a loss of dexterity.
The good news? You can customize the fit. Through a process called wet molding, you can carefully shrink your leather gloves to hug your hands perfectly.
Benefits of shrinking your gloves:
-
Improved Dexterity: No more loose fingertips getting in the way.
-
Better Grip: A tighter fit means less slipping on handlebars or steering wheels.
-
Custom Comfort: The leather molds to the unique contours of your hand.
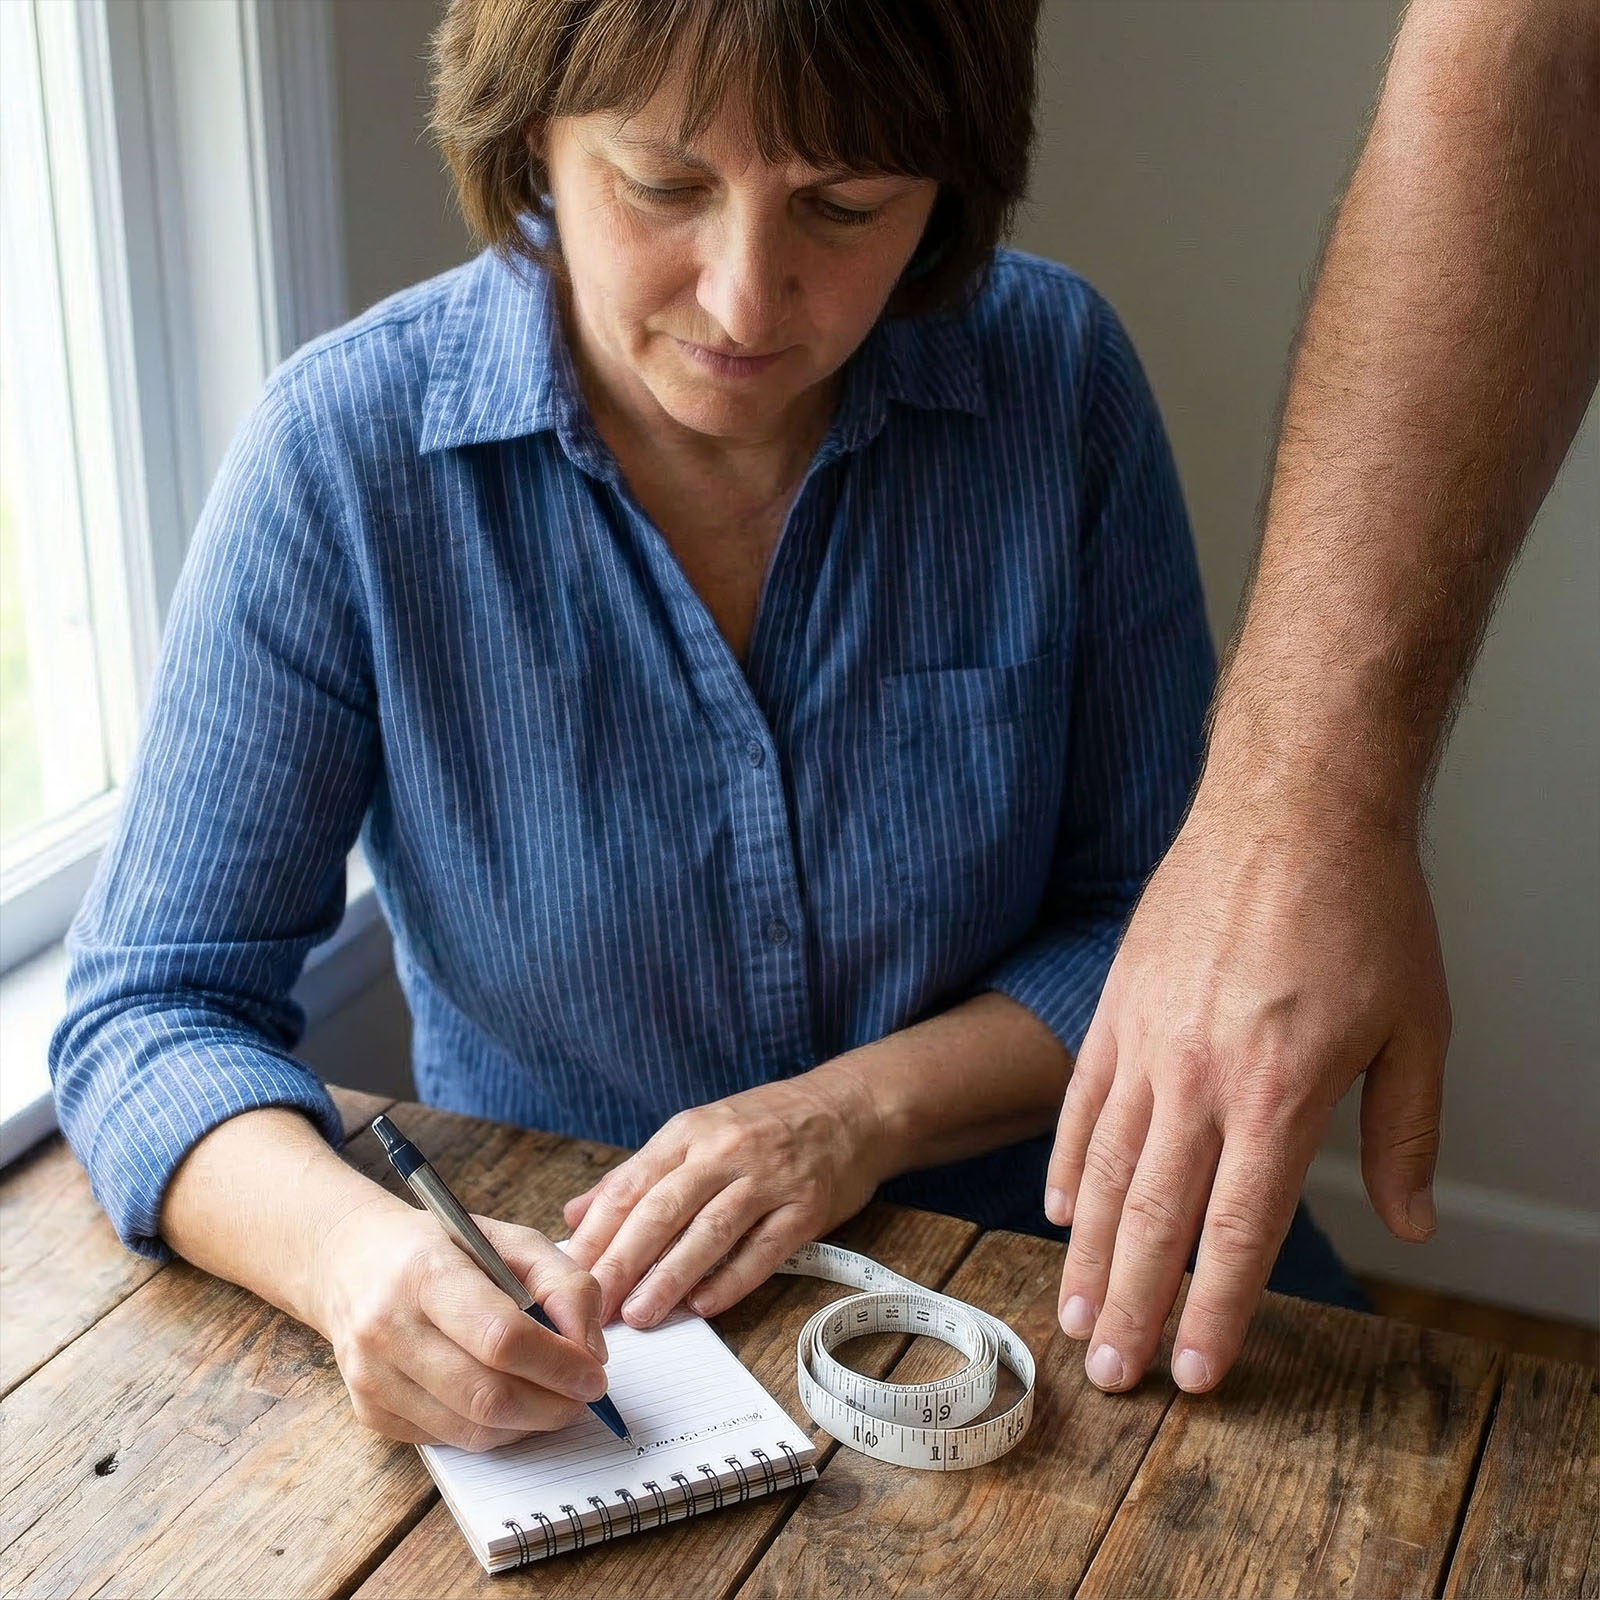
Step 1: Know Your Leather Type
Before you expose your gloves to water or heat, you must identify the material. Not all leather responds to shrinking methods in the same way.
If you purchased your gloves from Stompers Gloves, you are in the best possible position.
Important Note: All gloves sold at Stompers Gloves are crafted from premium Full Grain or Top Grain Leather.
Why does this matter?
-
Full Grain & Top Grain (Stompers Gloves Standard): These are high-quality, natural hides. They contain natural fibers that will tighten and mold effectively when treated with water and heat. They are durable enough to handle the shrinking process without falling apart.
-
Synthetic/Faux Leather: These are made of plastic (polyurethane). They will not shrink. Applying heat will simply melt them.
-
Bonded Leather: Made of leather scraps glued together. Soaking these will cause them to disintegrate.
Assuming you are working with real, high-quality leather, follow the methods below.
Method 1: The Soak & Mold (Best for Custom Fit)
This is the safest and most effective method for high-quality leather. It shrinks the overall glove while molding it to your hand size.
What You Need:
-
A bowl of lukewarm water
-
A towel
-
Leather conditioner
The Steps:
-
Soak: Submerge your gloves in a bowl of lukewarm water (never boiling). Let them sit for 10–15 minutes to fully saturate the fibers.
-
Squeeze: Remove them and gently squeeze out excess water. Do not wring or twist them, as this can warp the seams.
-
The “Wet Mold”: This is the secret sauce. Put the damp gloves on your hands.
-
Flex: Make a fist, stretch your fingers, and flex your hands. The drying leather will shrink around your hand, creating a custom fit. Keep them on for as long as possible (at least 30 minutes) while they begin to dry.
-
Air Dry: Take them off and lay them flat in a cool, ventilated area.
-
Condition: Once dry, the leather will feel stiff. Apply conditioner immediately to restore softness.
Method 2: The Spray & Heat (Best for Spot Shrinking)
If only the fingers are too long or the wrist is loose, use this targeted method.
What You Need:
-
Spray bottle with water (optional: add a splash of rubbing alcohol to speed evaporation)
-
Hairdryer
The Steps:
-
Mist: Spray the specific area you want to shrink until it is damp but not soaking wet.
-
Heat: Set your hairdryer to low or medium heat. Hold it about 6 inches away from the leather.
-
Move Constantly: Do not hold the heat in one spot, or you risk burning the leather.
-
Shape: As you dry it, massage the leather with your fingers to encourage the fibers to tighten.
-
Condition: Heat strips oils rapidly. Conditioning afterward is mandatory.
Method 3: The Hot Water Reset (Advanced)
Use this only if the gloves are significantly too large and Method 1 didn’t shrink them enough.
The Steps:
-
Heat the Water: Use hot tap water (around 150°F). Do not use boiling water, which cooks the collagen in leather and destroys it.
-
Brief Soak: Submerge gloves for 5–10 minutes.
-
Monitor: Check the leather. If it looks like it is shrinking rapidly, remove them immediately.
-
Dry & Condition: Follow the air-dry and conditioning steps from Method 1.
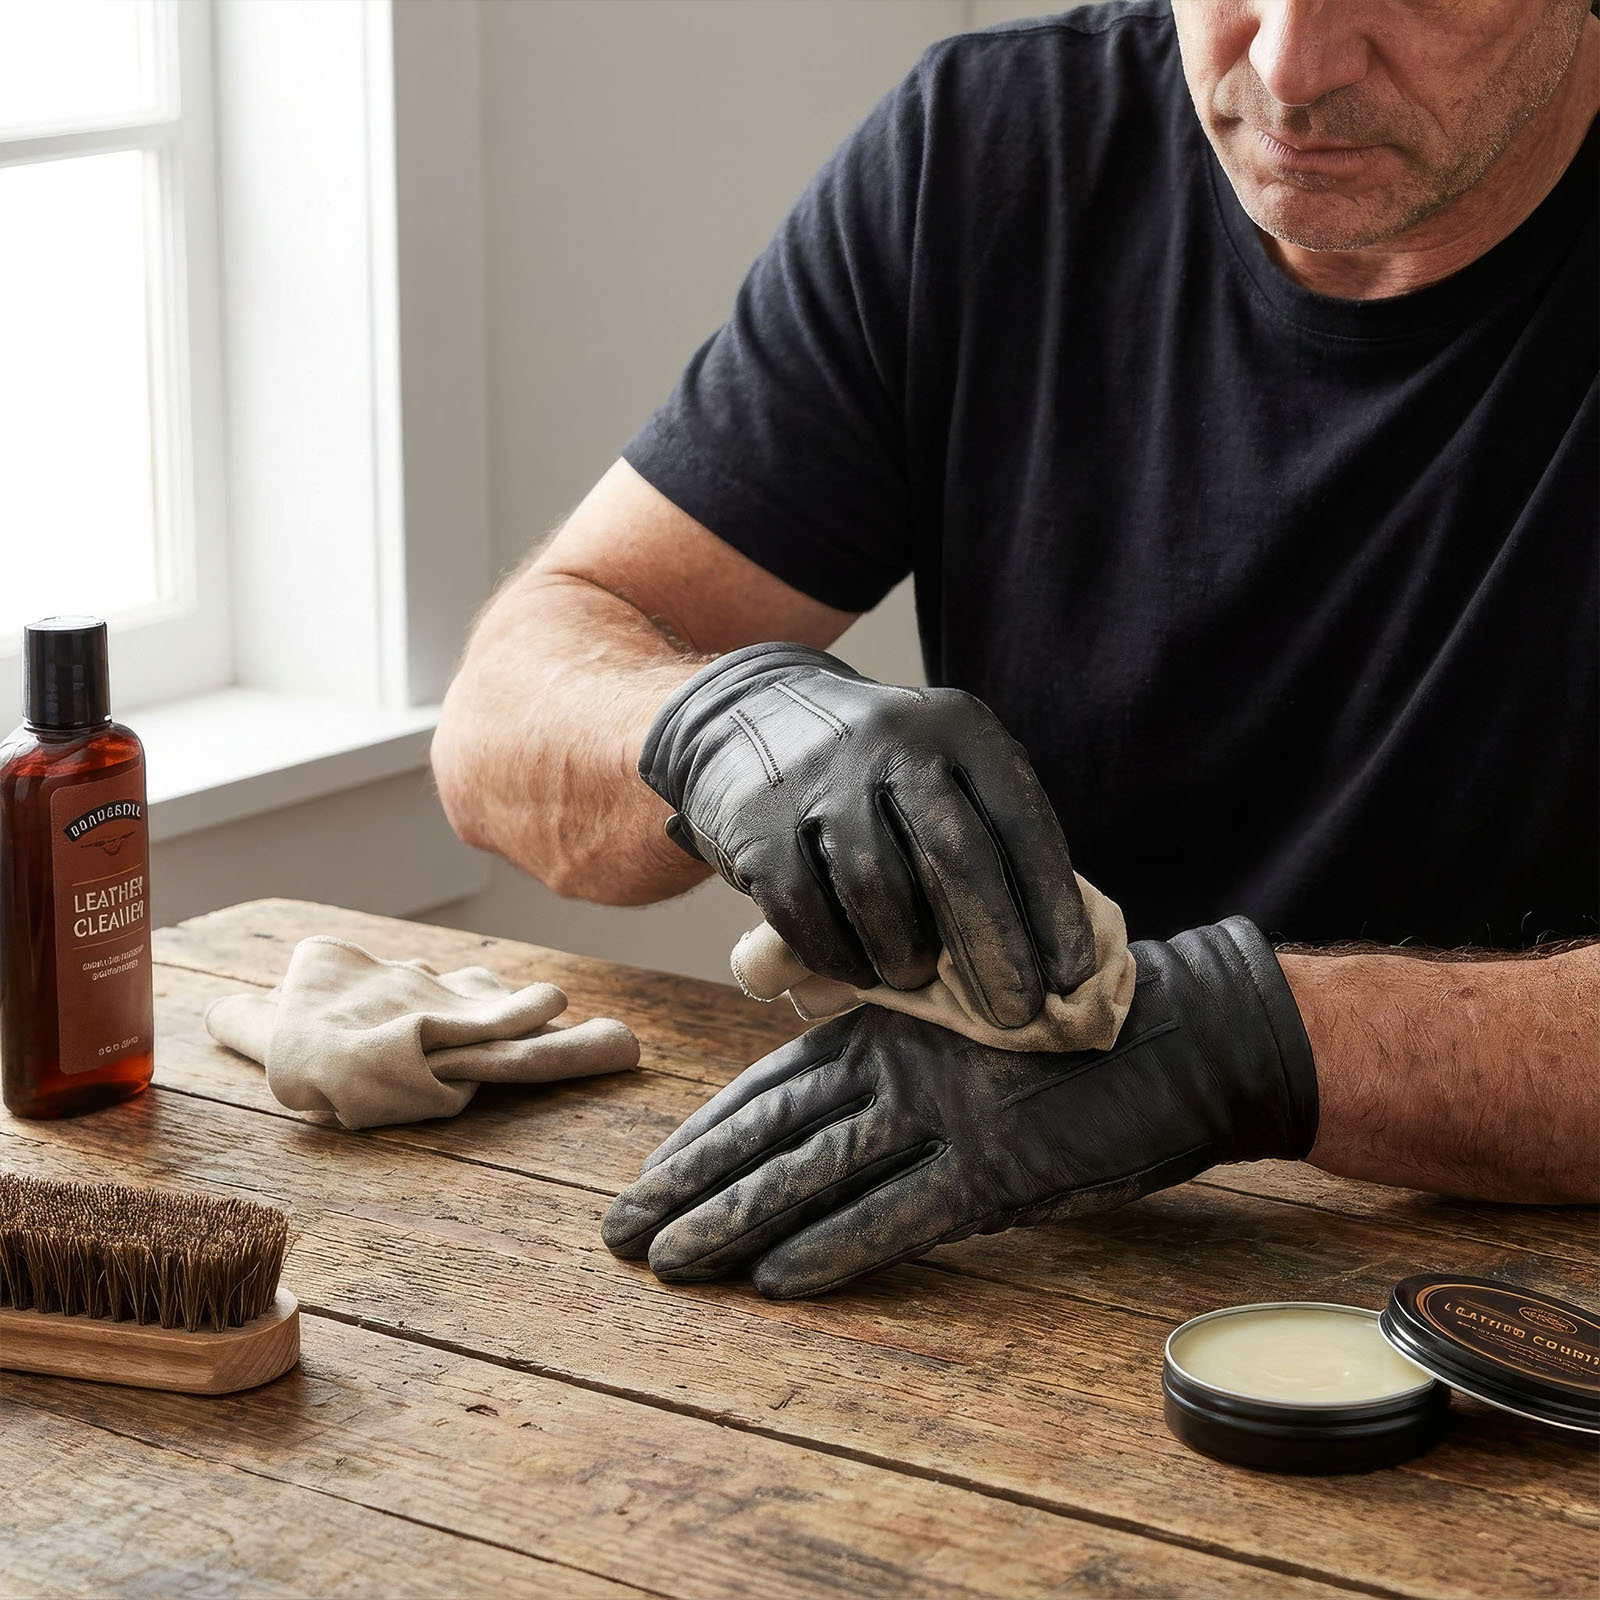
Crucial Step: The Aftercare
Shrinking leather works by tightening the fibers, but the process also strips out natural lubricating oils.
If you shrink your gloves and don’t condition them, they will become brittle, hard, and likely crack.
Once your gloves are fully dry:
-
Take a clean cloth and a premium leather conditioner (or balm).
-
Massage it thoroughly into the leather.
-
Flex the gloves to work the oil into the fibers.
Common Mistakes to Avoid
-
Boiling Water: This is the quickest way to ruin gloves. It turns leather into a hard, shriveled mess that cannot be fixed.
-
The Washing Machine: The agitation is too rough for gloves and can rip seams.
-
Microwaving: Never. This will burn the leather instantly.
-
Rushing: Leather takes 24–48 hours to dry naturally. Putting them on a radiator will make them stiff as a board.
FAQs About Shrinking Leather Gloves
Q: Can I shrink synthetic leather gloves?
A: No. Synthetic materials are plastic-based and do not have natural fibers that shrink. Heat will simply warp or melt them.
Q: How much can I expect them to shrink?
A: You can typically achieve a 5–10% reduction in size. This is usually enough to take a glove from “loose” to “snug,” but it won’t turn an XL glove into a Medium.
Q: Is shrinking reversible?
A: Generally, no. Once the fibers have tightened, they stay that way unless you aggressively stretch them out again while wet. Go slowly to avoid over-shrinking.
Final Thoughts
Shrinking leather gloves is a great way to salvage a loose pair or customize the fit of a new purchase. Because Stompers Gloves are made from high-quality Full Grain and Top Grain leather, they respond exceptionally well to these methods, giving you a personalized, second-skin fit that improves with age.
Just remember: Water, Heat, Wear, and Condition.
Ready for a new pair that you don’t need to shrink? Browse the premium collection at Stompers Gloves today.
.